When you search for hair transplant before and after pictures, you’re looking for proof that a procedure can truly restore confidence. Visual evidence helps prospective patients understand the potential change in density, hairline shape, and overall aesthetics. In this article we explore how these images are created, what to expect from a typical Turkish clinic, and how to interpret the results for your own journey.
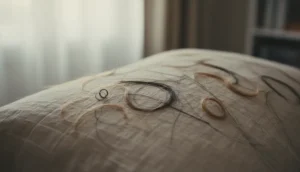
Hair loss affects millions worldwide, and the demand for reliable, transparent outcomes has never been higher. According to recent surveys, over 70% of men and women consider before‑and‑after photos a decisive factor when choosing a clinic. By breaking down the process behind each snapshot, you’ll gain a realistic perspective on what a successful transplant looks like.
We’ll walk through the stages of photography, the science of graft placement, and the most common patterns seen in successful cases. Whether you’re interested in a full scalp restoration, a hairline transplant, or a beard and eyebrow enhancement, the visual documentation we discuss will guide you toward an informed decision.
Understanding the Visual Impact of Hair Transplant Results
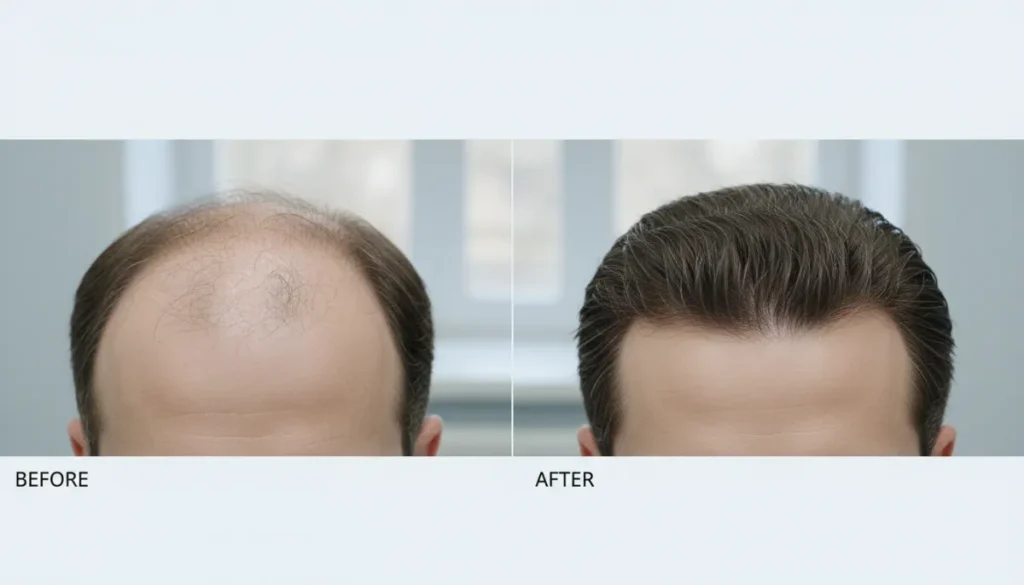
The power of hair transplant before and after pictures lies in their ability to showcase three key elements: graft survival, hairline design, and natural blending. Clinics in Istanbul often use standardized lighting and angles to ensure consistency across the gallery, allowing patients to compare outcomes objectively.
When evaluating a photo set, pay attention to the following:
- Graft density: The number of follicles per cm² visible in the after image.
- Hairline contour: Whether the new hairline follows a natural curvature.
- Scalp texture: Consistency between transplanted and native hair.
- Side‑view comparison: Shows growth direction and thickness.
Below is a simple comparison table that highlights what to look for in a high‑quality photo series.
| Feature | Before Photo | After Photo (12 Months) |
|---|---|---|
| Hairline Position | Receded, uneven | Low, symmetrical |
| Graft Density (follicles/cm²) | 0 (bald area) | 35‑45 (natural range) |
| Scalp Visibility | High | Low, natural blend |
These visual cues help differentiate between a routine hairline transplant and a more extensive FUE hair transplant that may involve thousands of grafts. Remember, the most convincing galleries present both frontal and side angles, often captured at the same distance and lighting conditions.
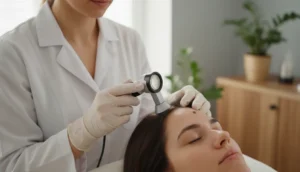
How Before and After Photos Are Captured in Turkey Clinics
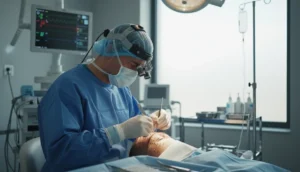
Turkey has become a global hub for hair restoration, and part of that reputation stems from meticulous photographic documentation. Clinics follow a protocol that includes pre‑operative assessment, intra‑operative mapping, and post‑operative follow‑up imaging at 3, 6, and 12 months.
Key steps in the process include:
- Standardized background: A neutral gray backdrop eliminates color casts.
- Consistent camera settings: Same focal length, aperture, and ISO for each session.
- Patient positioning: Upright, head slightly tilted to expose the crown.
- Lighting control: Soft box lights placed at 45° angles to reduce shadows.
Clinics also employ digital measurement tools that overlay a grid on the scalp, allowing precise tracking of graft density growth. This data is often paired with the visual gallery to give patients a quantitative sense of progress.
Below is a checklist that many Turkish centers, including Gold City Hair, use to ensure high‑quality images:
- Same photographer for all sessions.
- Use of a calibrated monitor for color accuracy.
- Patient’s hair washed and dried before each shoot.
- Documented lighting temperature (e.g., 5600 K).
When you browse hair transplant before and after pictures online, look for these consistency markers—they signal a clinic’s commitment to transparency and professional standards.
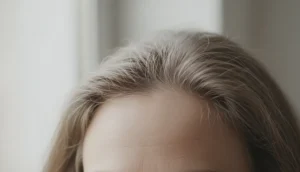
Common Patterns in Successful Hairline Transplants
Analyzing a large collection of hair transplant before and after pictures reveals recurring trends that define a natural‑looking result. The most successful hairline transplants share three characteristics: a low frontal point, a gentle arch, and gradual density increase toward the crown.
Here are the typical stages observed in a well‑executed hairline restoration:
- Stage 1 (0‑3 months): Minimal visible growth; the transplanted area appears pinkish.
- Stage 2 (4‑6 months): New hair sprouts, often fine and wispy; density begins to form.
- Stage 3 (7‑12 months): Hair thickens, matching surrounding native strands; the hairline looks fully established.
Many patients also opt for a hairline transplant combined with a hair graft technique called DHI (Direct Hair Implantation). DHI allows precise angle control, which contributes to a smoother transition between transplanted and existing hair.
Below is a concise table comparing the visual outcomes of FUE versus DHI hairline procedures based on typical photo sets.
| Technique | Angle Control | Typical Density (follicles/cm²) | Visual Uniformity |
|---|---|---|---|
| FUE | Good | 30‑35 | High |
| DHI | Excellent | 35‑45 | Very High |
When reviewing galleries, note the subtle differences in hair direction and how seamlessly the new line integrates with the existing fringe. These cues are often highlighted in the “before and after” collections of reputable Turkish clinics.
Interpreting Hair Graft Density and Growth Over Time
One of the most asked questions when browsing hair transplant before and after pictures is how to gauge graft density from a photo. While a visual assessment provides a general sense, clinics often supplement images with quantitative data.
Typical graft counts for a full‑scale FUE procedure range from 2,500 to 5,000 grafts, depending on the area treated. The resulting density is usually expressed as follicles per square centimeter. A healthy, natural‑looking scalp exhibits 35‑45 follicles/cm² in the donor‑derived zones.
To help patients understand this metric, many centers present a “density map” overlay on the after image. The map uses a color gradient (green to red) indicating low to high follicle concentration.
Below is a step‑by‑step guide that illustrates how to read such a map:
- Identify the reference square (usually 1 cm²) on the overlay.
- Note the color code; green indicates 30‑35 follicles, yellow 35‑40, and red 40‑45.
- Compare the density across different zones—frontal, mid‑scalp, and crown.
- Cross‑reference with the patient’s timeline (3 months, 6 months, 12 months) to see growth progression.
Understanding these visual tools empowers you to set realistic expectations and evaluate the long‑term success of a transplant, especially when considering a Turkish hair transplant that often includes comprehensive follow‑up photography.
Frequently Seen Improvements in Beard and Eyebrow Transplants
While most people associate hair transplant before and after pictures with scalp restoration, beard and eyebrow transplants are gaining popularity. The visual transformation in these areas follows similar photographic standards but focuses on different aesthetic goals.
Key improvements typically showcased include:
- Fuller, denser beard lines that match the natural growth pattern.
- Symmetrical eyebrows with a natural arch, enhancing facial expression.
- Reduced patchiness and a uniform hair texture across the transplanted zone.
Clinics often present side‑by‑side images that display the before state (often sparse or patchy) and the after state (dense and well‑shaped). Because facial hair grows at a slightly different rate than scalp hair, the timeline for visible results may extend to 12‑18 months.
Below is a concise comparison of typical outcomes for beard versus eyebrow transplants based on patient photo libraries.
| Area | Average Grafts Used | Visible Results Timeline | Typical Visual Change |
|---|---|---|---|
| Sakal | 800‑1,200 | 6‑12 months | Full, natural‑looking beard line |
| Kaş | 150‑300 | 4‑8 months | Defined arch, consistent thickness |
When you view galleries, pay attention to the angle of the hair shafts; a proper transplant will mimic the native direction, ensuring the final look blends seamlessly with surrounding facial hair.
Why Choose Gold City Hair
Gold City Hair combines advanced FUE and DHI techniques with a personalized patient journey. Since 2017, the clinic has delivered consistent, natural‑looking results for men and women seeking scalp, beard, or eyebrow restoration. Transparent communication, state‑of‑the‑art facilities in Istanbul, and a dedicated follow‑up team ensure that every patient receives the highest standard of care.
Ready to see your own transformation? Contact Gold City Hair today to schedule a free consultation and receive a customized photo‑documented plan.
Take the first step toward lasting confidence—your before and after story starts now.
SSS
What should I look for when evaluating hair transplant before and after pictures?
Check graft density, hairline contour, scalp texture, and side‑view comparison for natural blending.
How do Turkish clinics standardize their before and after photography?
They use a neutral gray backdrop, fixed camera settings, consistent patient positioning, and controlled lighting.
What are the typical stages of hairline growth after a transplant?
Stage 1 (0‑3 months) minimal growth, Stage 2 (4‑6 months) fine new hair, Stage 3 (7‑12 months) thick, natural‑looking hairline.
How is graft density measured and presented to patients?
Clinics overlay a color‑coded density map on the after photo, indicating follicles per cm² with green‑yellow‑red gradients.
Can beard and eyebrow transplants be evaluated with the same photo standards as scalp transplants?
Yes, they use the same standardized lighting and background, but focus on different aesthetic goals like shape and symmetry.